

Overview
The MoonPay Enterprise Partner Dashboard is where you manage customers, compliance, fee profiles, API keys, webhooks, routes, and linked wallets and bank accounts. This guide explains how to access the dashboard and what each screen does.- Production: https://app.enterprise.moonpay.com/
- Sandbox: https://app.sandbox.iron.xyz/
Accessing the dashboard
1
Request access
- Reach out to the MoonPay Enterprise team at developers@iron.xyz to request access to your partner dashboard.
- You’ll receive login credentials or an invitation link.
2
Sign in
- Go to https://app.enterprise.moonpay.com/ or https://app.sandbox.iron.xyz/.
- Enter your credentials and complete the authentication process.
Two views: Dashboard and App
The sidebar switches between two views. The switcher sits at the top of the sidebar and shows the view you’re in. Open it to change view.Every navigation path in this guide starts with the view it lives in. A screen in the App view is not reachable from the Dashboard sidebar, and the reverse is also true.
Dashboard view
Home
The landing screen after sign-in. It carries an overview of your account plus your most recent activity.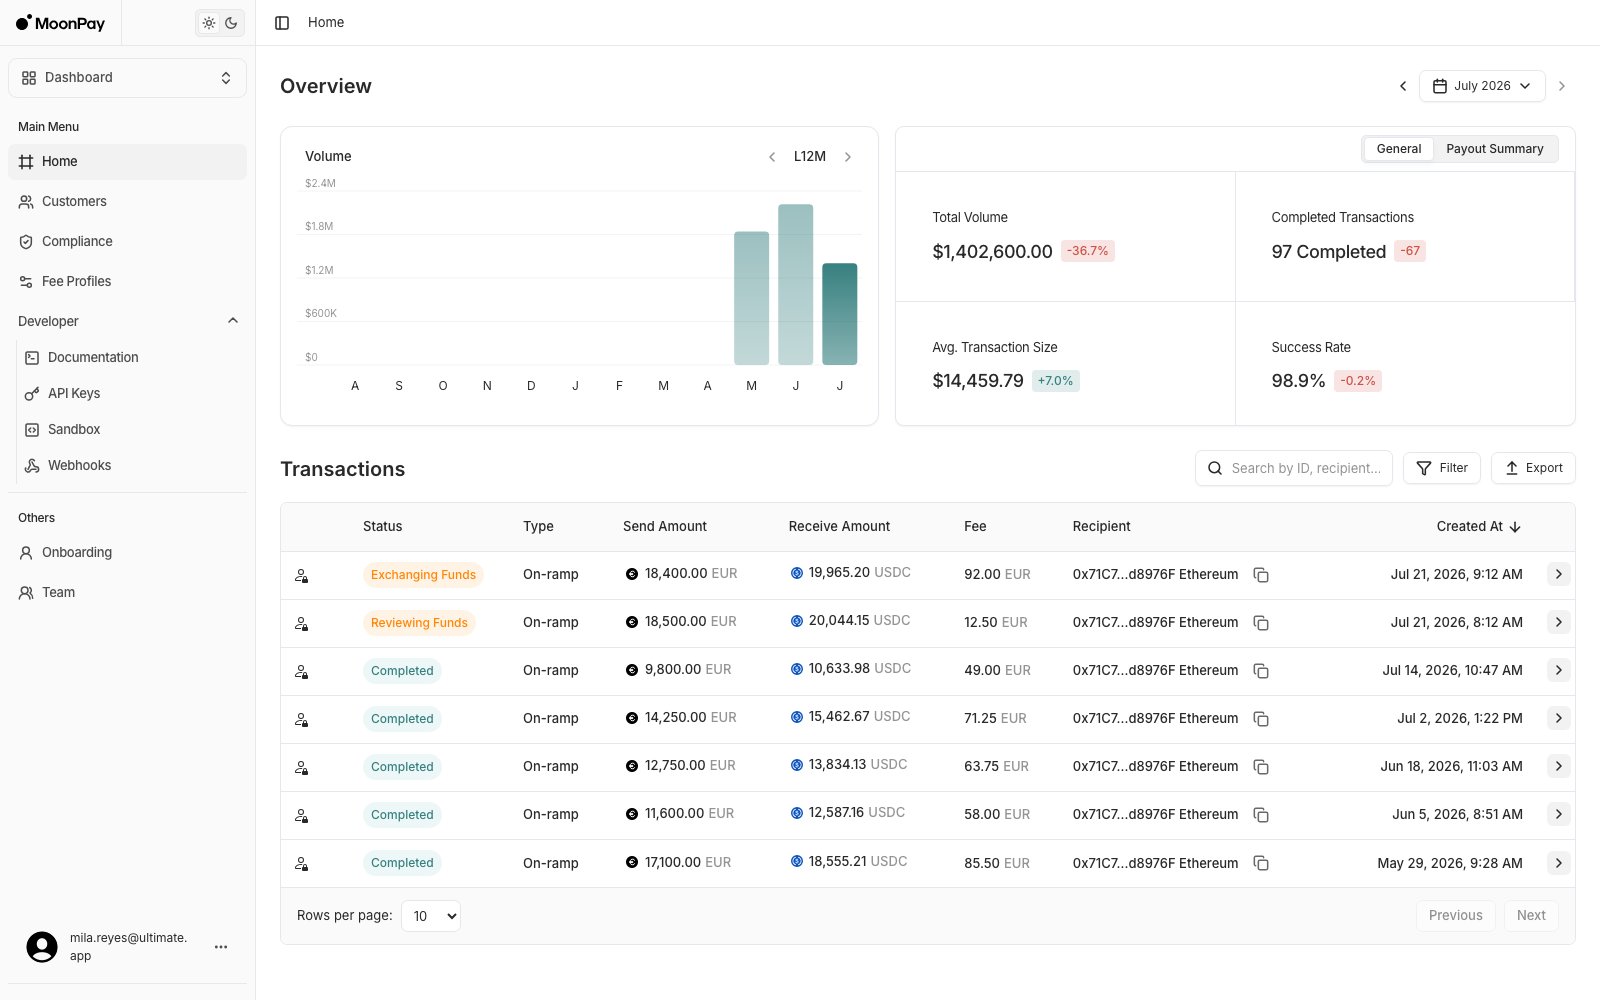
- Read monthly volume on the Overview chart, and step between years
- Check the General stats for total volume, completed transactions, average transaction size, and success rate, each against the previous month
- Open the Payout Summary tab for the same month’s payout breakdown, downloadable as a PDF
- Scan recent transactions with status, type, send and receive amounts, fee, recipient, and timestamp
- Export transactions to CSV from the same table
Customers
View and manage customer information.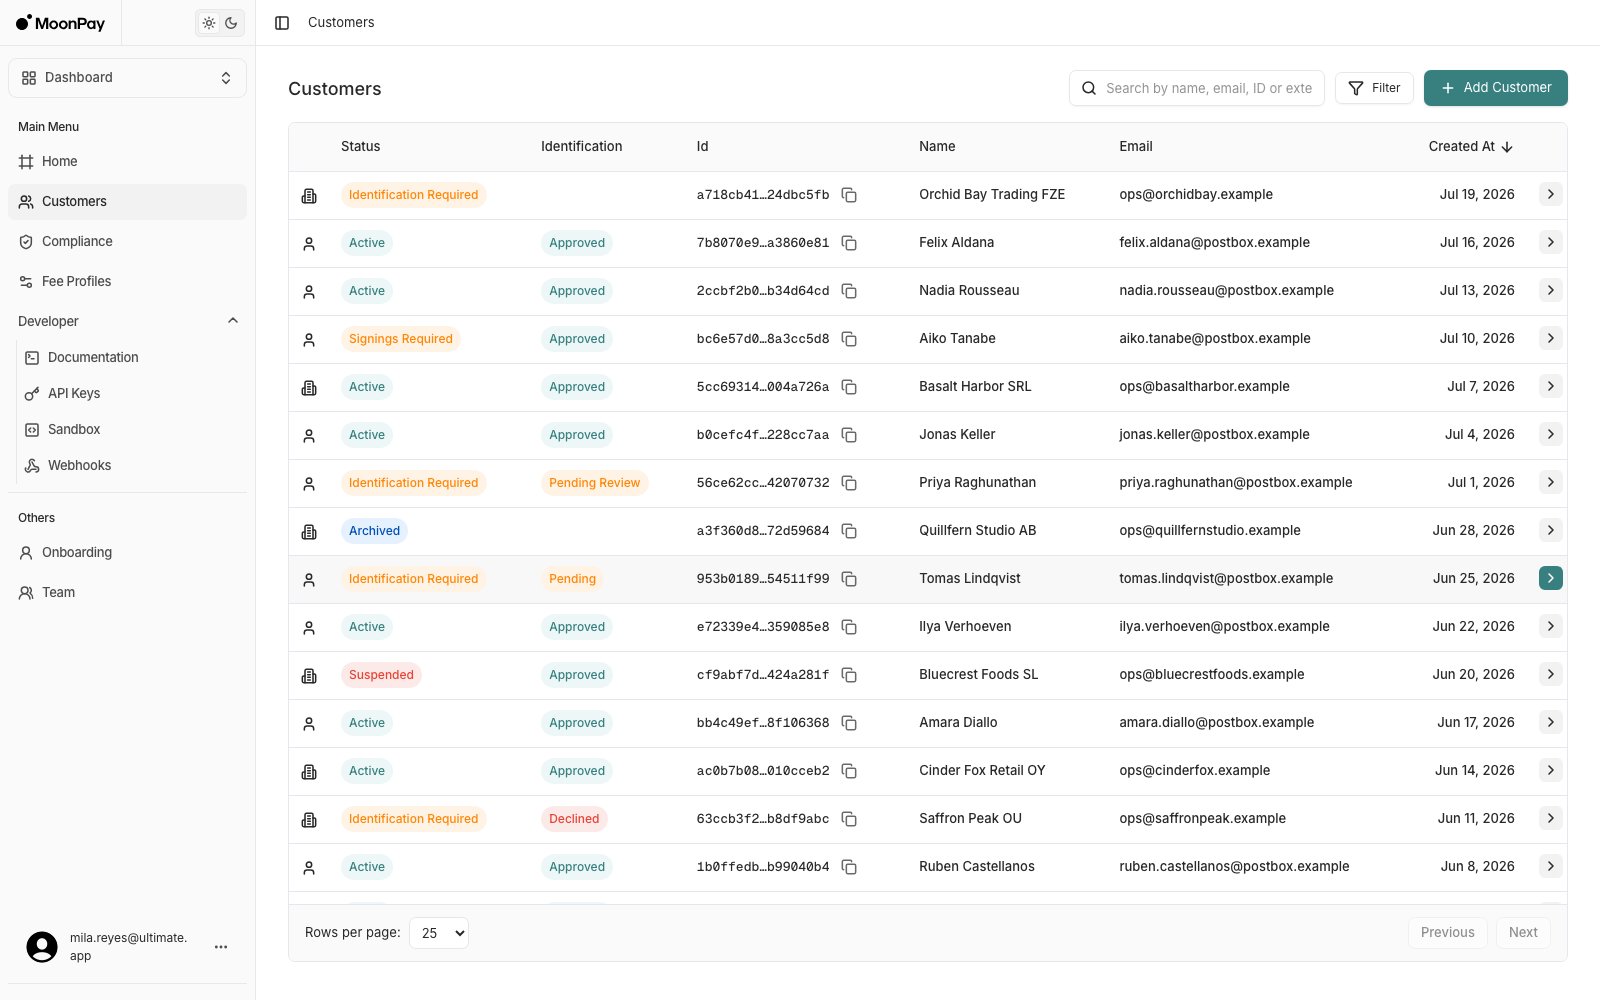
View customer details
View customer details
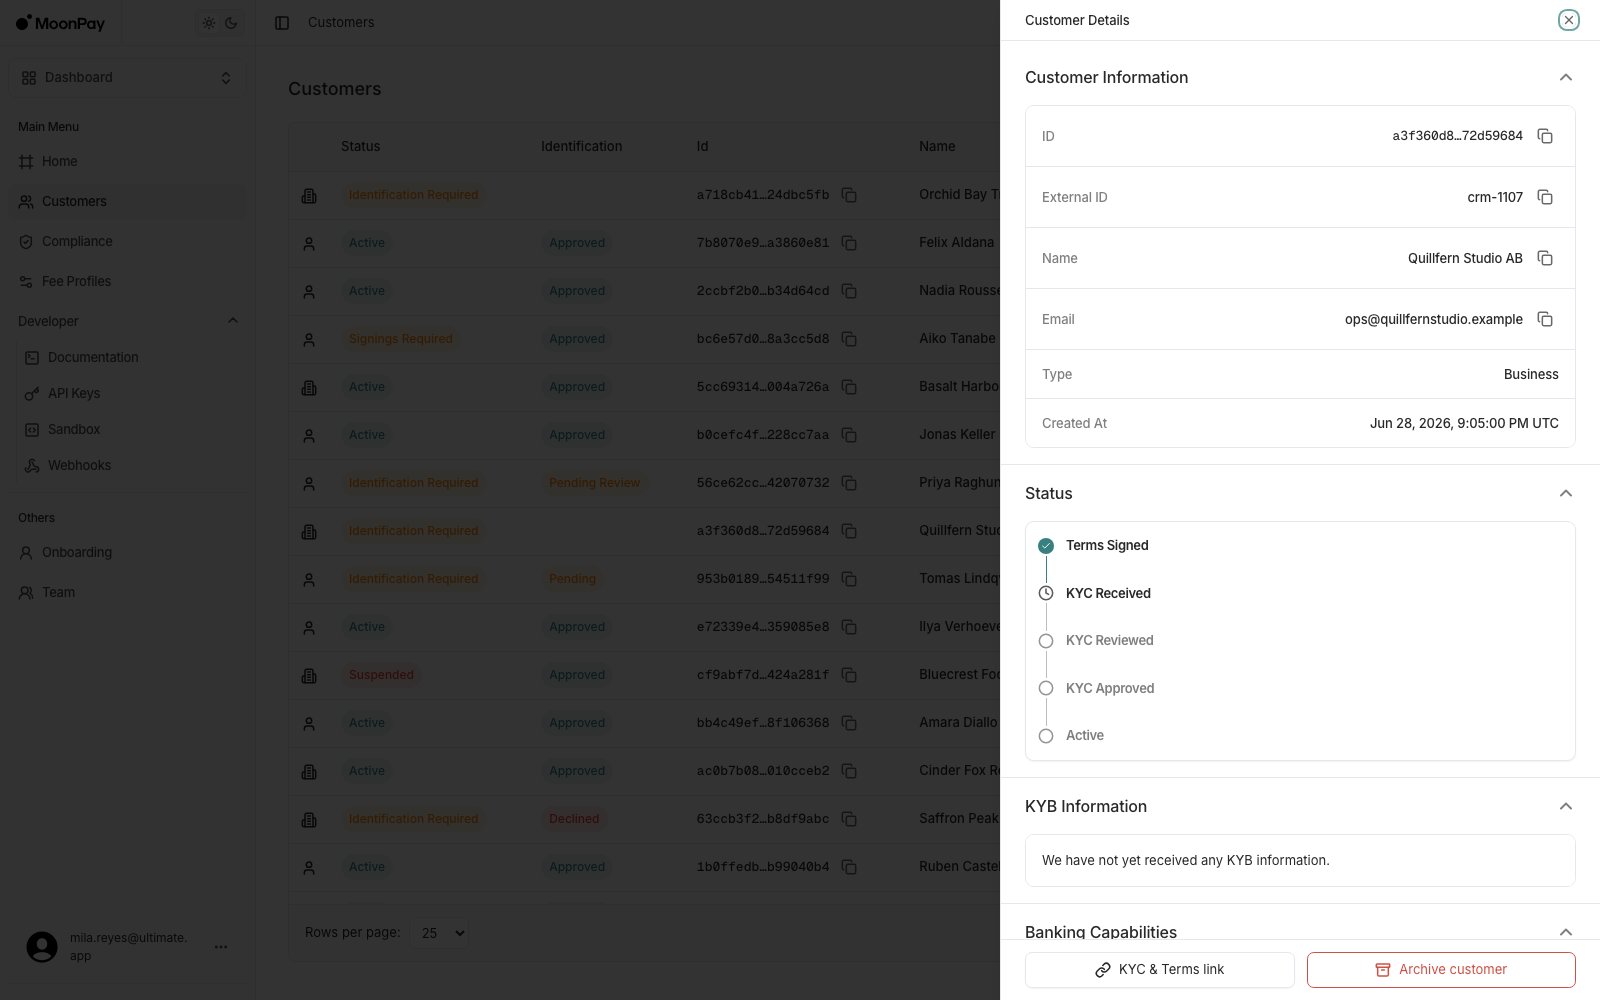
- View customer profiles with real-time status, KYC or KYB progress and account details
- Monitor onboarding milestones including terms signing, KYC review and activation
- Generate and share signup links to onboard new customers via the hosted UI
- Review banking capabilities for deposits and payouts by currency and rail
- Inspect transaction summaries and currencies used
- Upload and manage required compliance documents such as source of wealth (individuals) or source of funds (businesses)
Compliance
A work queue of customers who need attention, split into tabs by what is blocking them. Open a row to get the detail sheet with that customer’s requirements, questionnaire, and status timeline.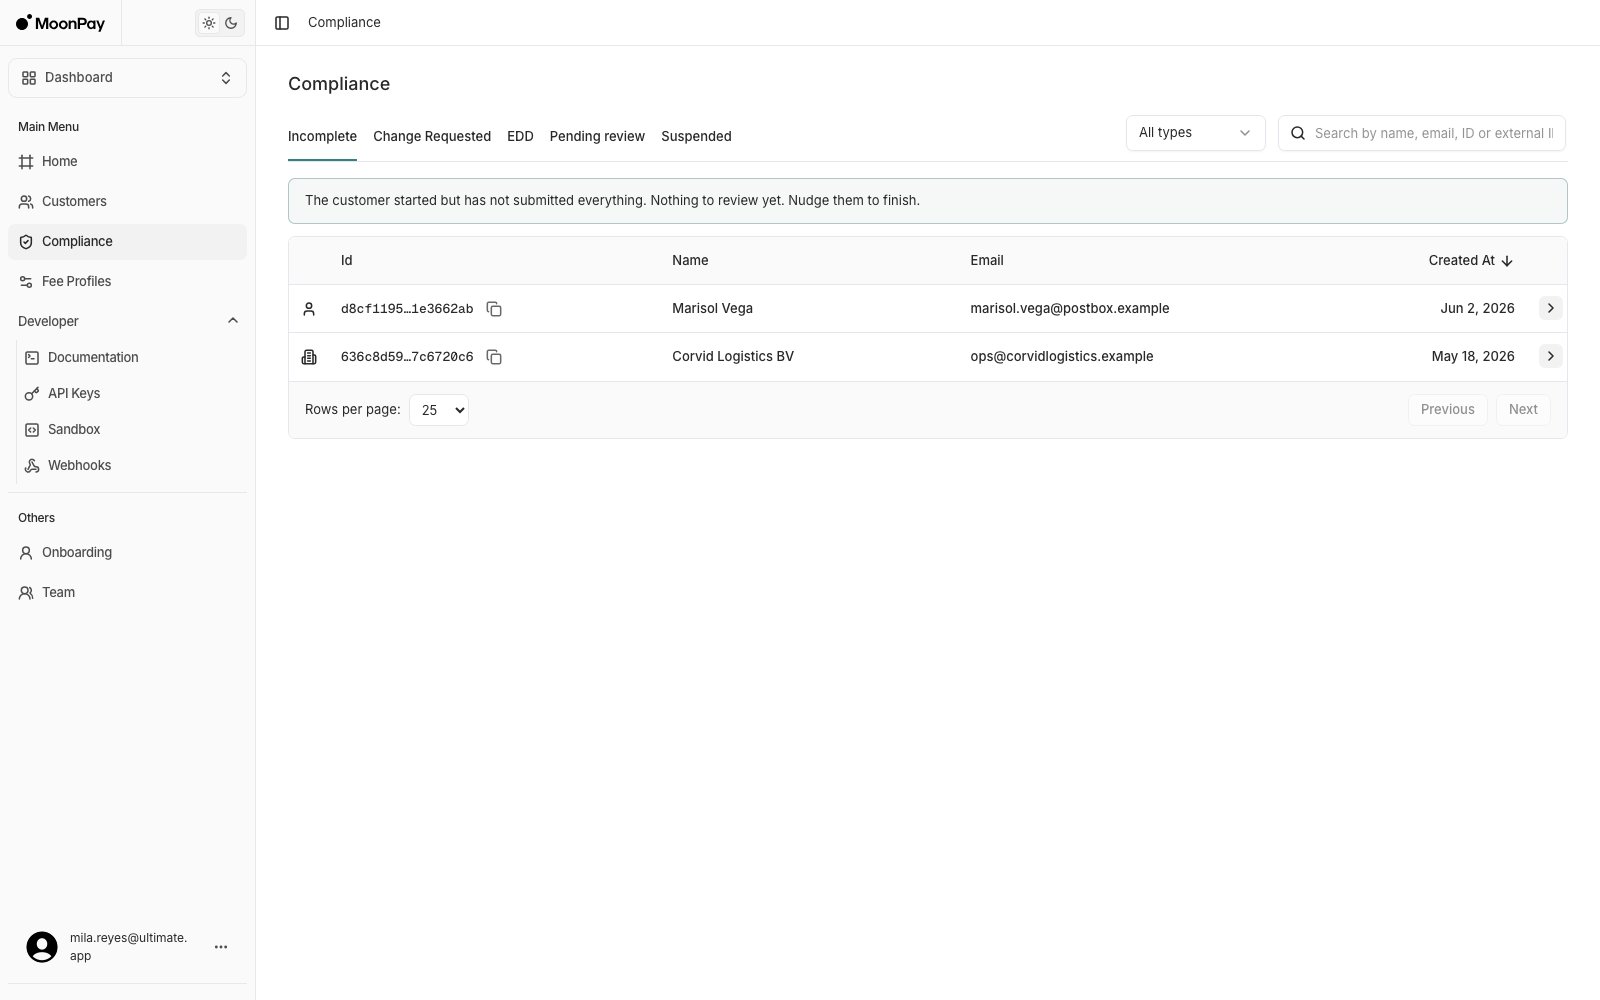
Each tab shows the same guidance in the page itself, so the dashboard and this table stay in step. Filter by customer type, or search by name, email, ID, or external ID.
Clicking a row opens the Compliance Review panel, which is where a support team actually unblocks a customer. See Ops and Customer Service for the walkthroughs.
You get a webhook when a customer’s status changes, so you don’t have to poll this page. See Webhooks.
Fee Profiles
Fee profiles set what you charge on top of a transaction, and what banking fees apply per rail.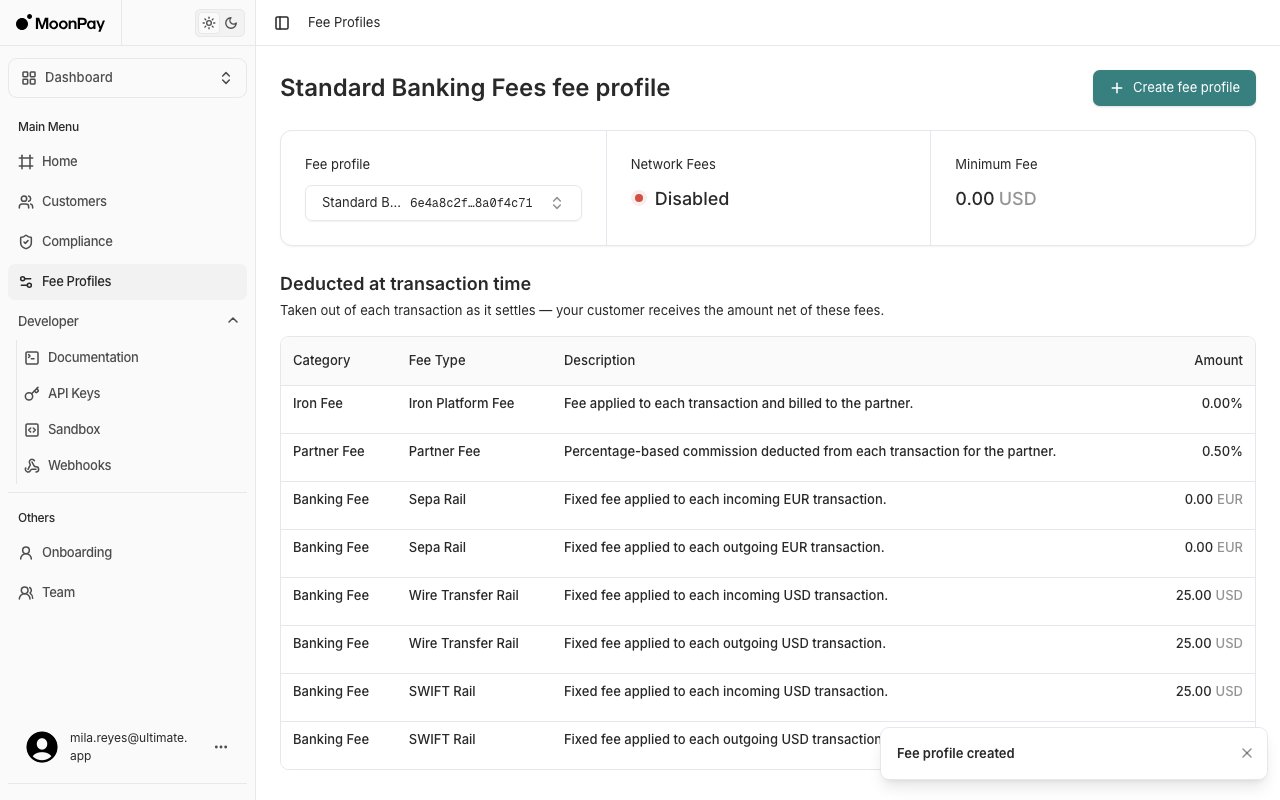
- Create a fee profile with a partner fee in basis points
- Add banking fees per rail and direction, for example SEPA PayIn and PayOut
- Review a profile’s breakdown before you attach it
- Attach a profile to a route when you create it, or by editing an existing route
Changing a route’s fee profile is a sensitive edit. It parks in
EditPending and needs email confirmation before it takes effect, rather than saving instantly.Developer
Under Developer in the Dashboard sidebar.API Keys
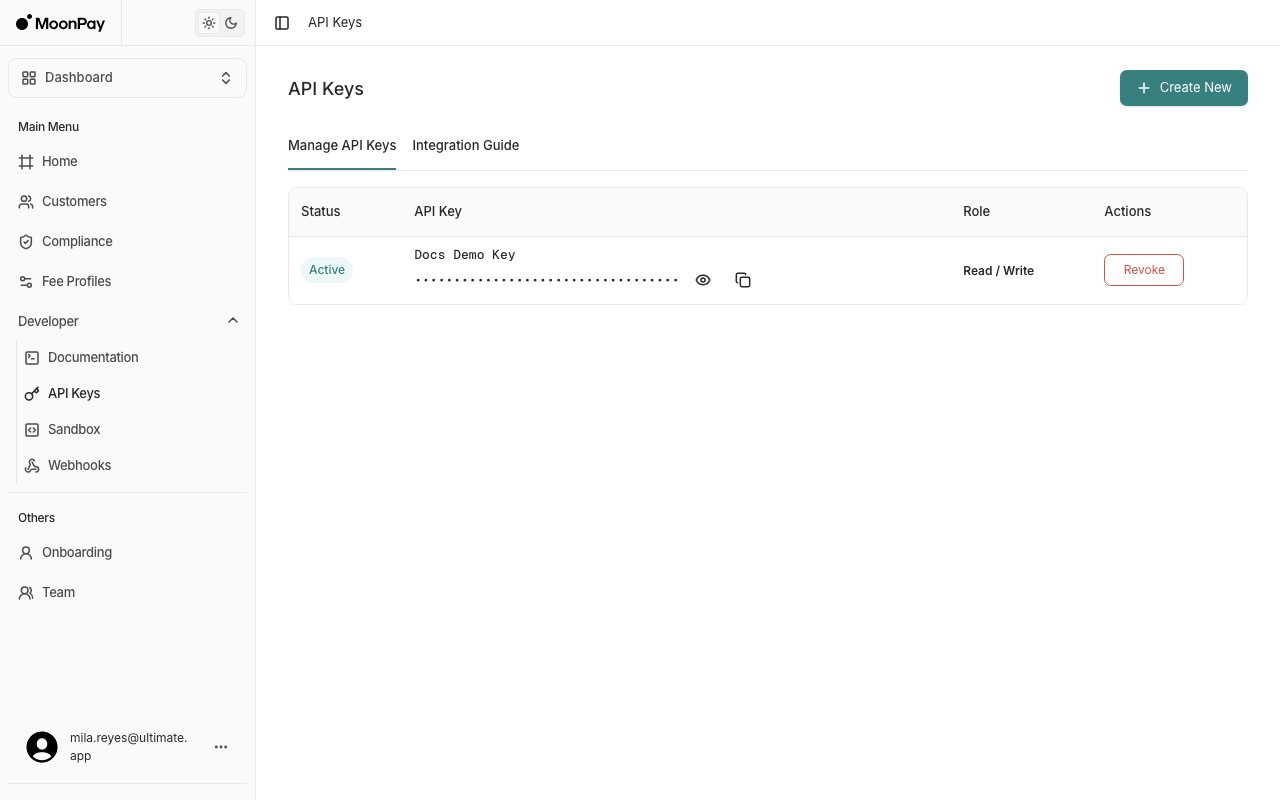
- Create a new API key with a label and a permission level of Read or Read / Write
- Reveal or copy a key’s value from its row
- Revoke a key to immediately end its access. The row then shows
Revoked.
In production, only Admins can manage API keys, and the API Keys item is hidden from the sidebar for everyone else. An Admin can create a key and give it to a teammate with the Editor role. On the sandbox, Editors can manage keys too. See Team.
Webhooks
Register and manage the endpoints MoonPay Enterprise calls when events happen on your account. The page opens on Webhook Logs; registered endpoints live on the Manage Webhooks tab.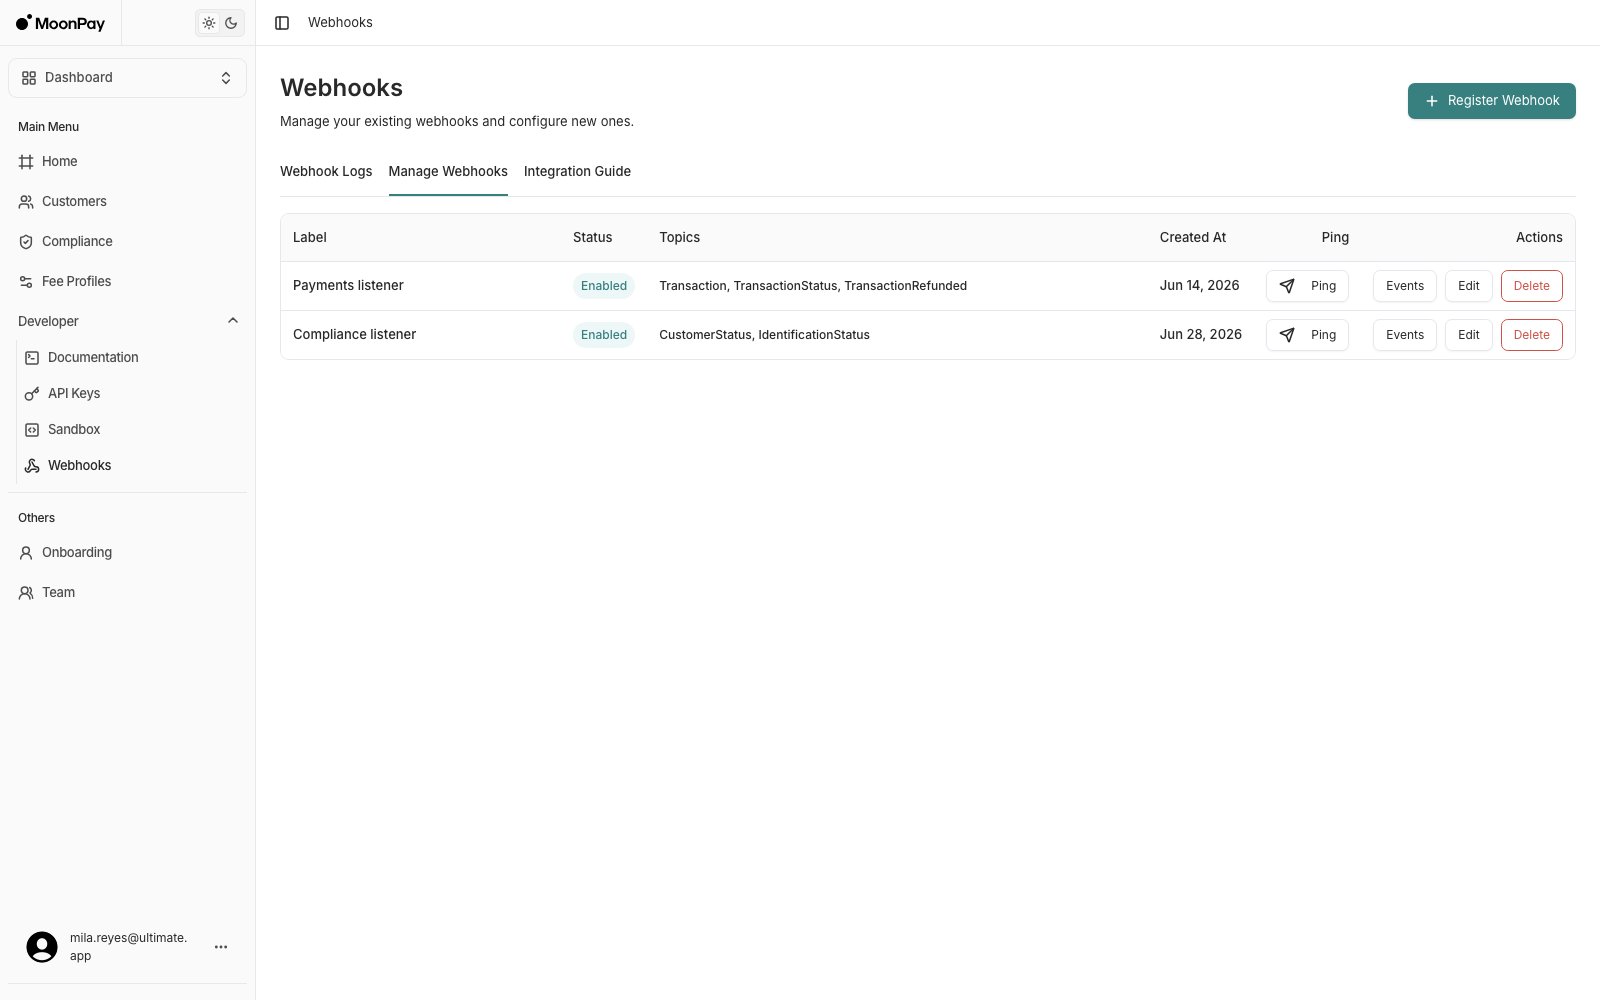
- Register a webhook with a label, an
https://endpoint URL, and the events you want to receive - Copy the webhook secret shown once after creation, used to verify signatures
- Enable or disable deliveries for an endpoint without deleting it
- Send a test ping to confirm your endpoint receives and acknowledges events
- Review every delivery attempt in the Webhook Logs tab, with the signed headers, the exact payload, and a retry for the ones that failed
- Read the Integration Guide tab for signature verification steps and sample code in PHP, JavaScript, Ruby, and Python
- Delete an endpoint, which also removes its delivery logs
Sandbox
On production, this screen provisions your sandbox account and hands you the link to it. It reports whether your sandbox account exists, whether it has a user, and gives you the invitation link once it’s ready. The testing tools themselves live on the sandbox app at https://app.sandbox.iron.xyz/: create customers, walk them through onboarding, and simulate transactions without moving real money.Onboarding
Your own onboarding as a partner: start KYB and sign terms. This is your partner record, not your customers’. Customer onboarding lives under Customers.Team
Invite teammates to your organization and control what they can do. Find this under Others > Team in the Dashboard view.- Invite a member by email, either emailing the invitation or sharing the invite link and code yourself
- Assign a role that sets their access
- Change a member’s role at any time
- Remove a member to revoke their access
App view
Set the customer you’re acting as in the View As selector before you use these screens.Routes
One page for every standing route, whatever its direction. Routes are persistent, always on, and accept any amount.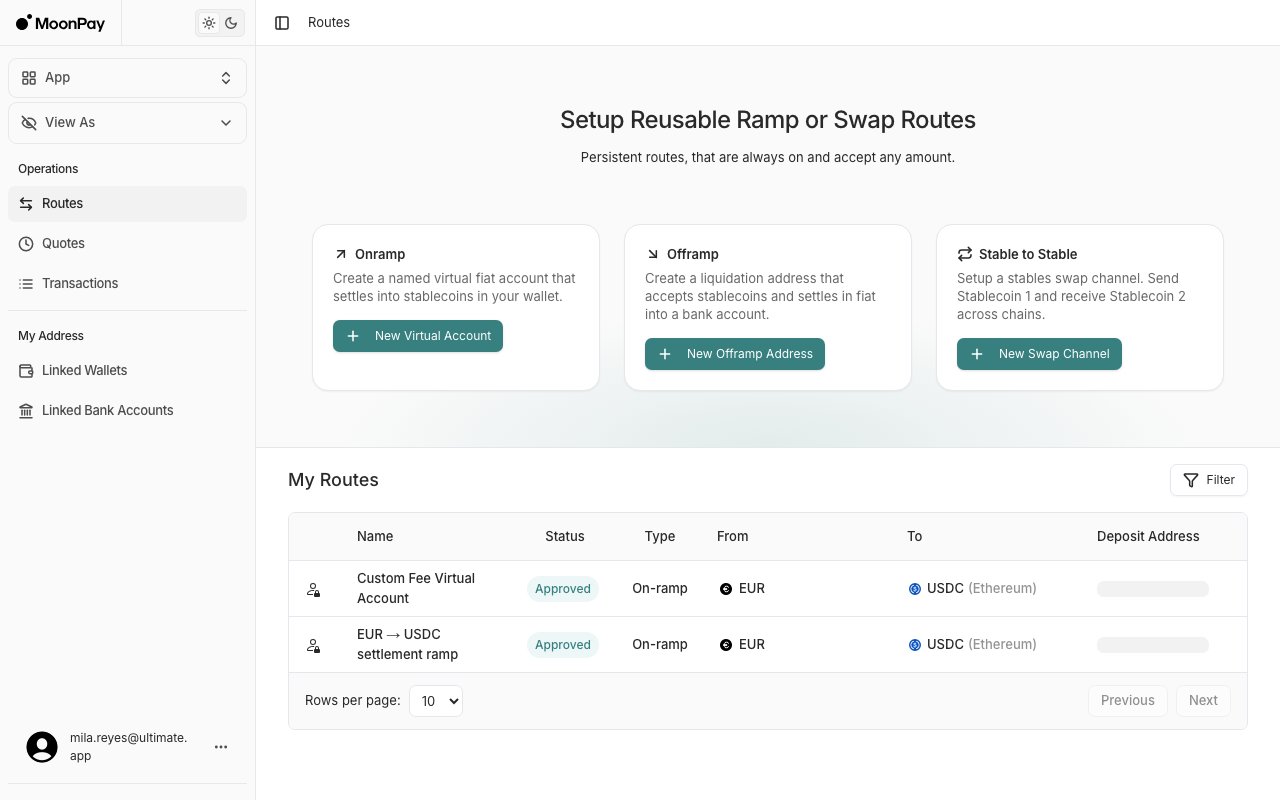
- View all routes in My Routes with name, status, type, from and to currencies, and deposit address
- Filter by type to narrow the table to on-ramps, off-ramps, or swaps
- Edit a route to change its recipient, reference, or fee profile
- Attach a fee profile under Advanced options when you create or edit a route
Quotes
Price a conversion before you commit to it. The composer returns a signed quote with a rate, an expiry countdown, and a fee breakdown, which you then confirm.- Request a quote for an amount, in either direction
- Review the rate, fees, and expiry before confirming
- Track active and expired quotes in their own tables
Transactions
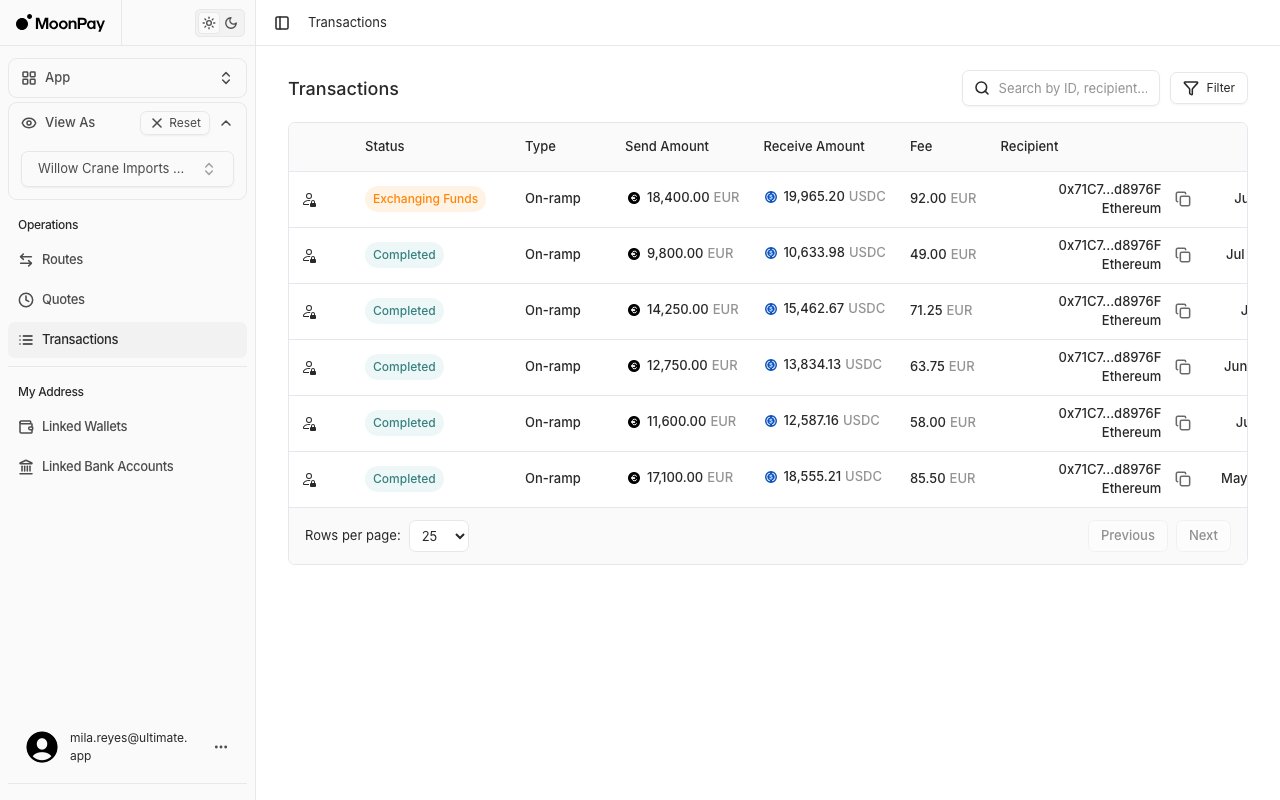
- View detailed transaction information including amounts, currencies, chains, and timestamps
- Track transaction lifecycle status from fund detection through exchange and completion
- Inspect fee breakdowns by component and settlement method
- Review source and destination details including wallets, bank accounts, and rails
- Access recipient information such as holder name, institution, network, and address
Linked Wallets and Linked Bank Accounts
Under My Address in the App view. These are the crypto and fiat addresses your routes send to and receive from.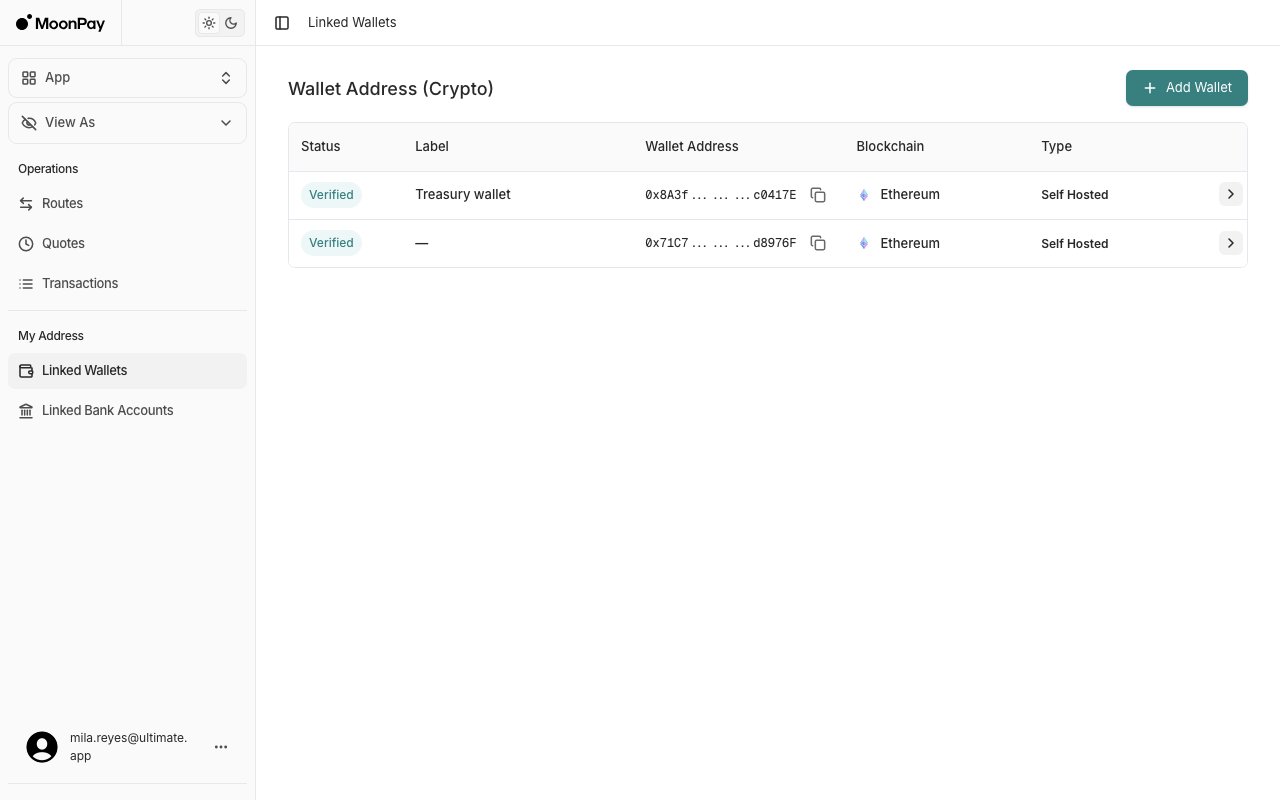
- Link a crypto wallet for use as a transaction source or destination
- Link a bank account by rail, for example wire or SEPA
- Attach ownership and compliance information to each address
- Review an address’s status
- Disable or remove addresses that are no longer required
- Support Travel Rule compliance by associating required beneficiary and originator data